If you’re looking for step by step instructions for installing the Koko Analytics Pro plugin, you’ve come to the right place.
Step 1: downloading the plugin
Log in to our account area and navigate to the Downloads page.
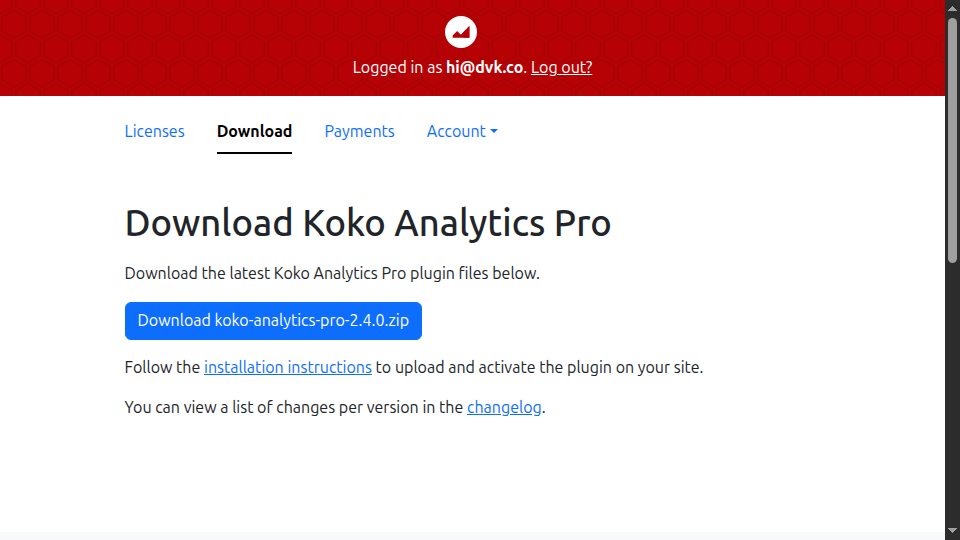
Click the big download button to download a ZIP archive containing the files for the Koko Analytics Pro plugin to your computer.
Step 2: uploading and activating the plugin
Once you’ve downloaded the ZIP archive containing the plugin files, head over to the WordPress admin area of your site and navigate to Plugins > Add New. Click the Upload Plugin button at the top of the page.
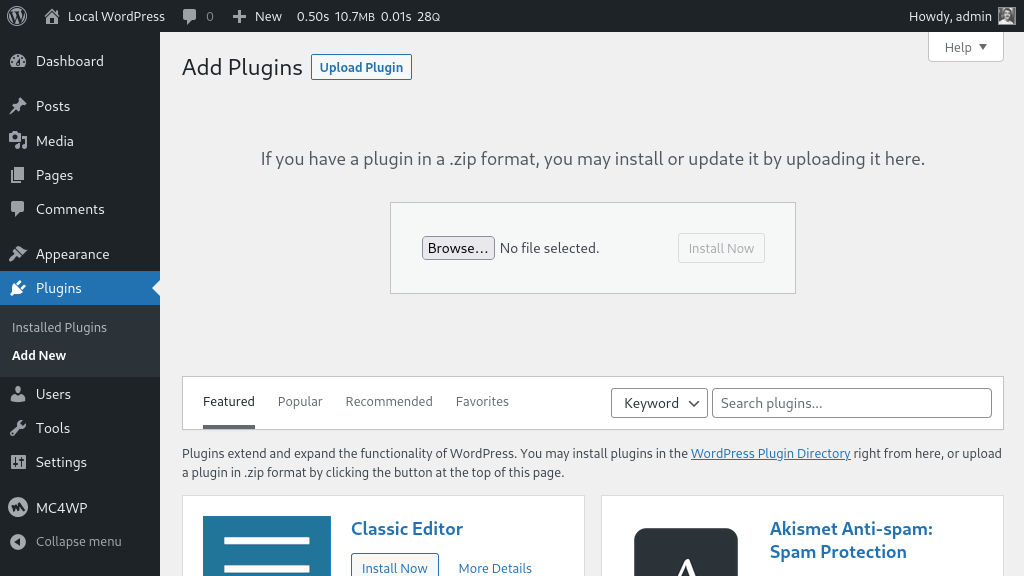
Select the koko-analytics-pro-2.x.x.zip file that you downloaded in the previous step, then click Install Now and wait for the plugin files to upload.

Click the Activate Plugin button to activate the plugin.
Step 3: authorize with your Koko Analytics Pro account
Now the plugin is active on your WordPress site, you should be presented with a notice at the top of the page asking you to activate Koko Analytics Pro. This is to ensure you can receive future plugin updates and use the features from Koko Analytics Pro.
Because we do not want to clutter your entire admin area with even more notices, we only show the notice on the Plugins page or on the Koko Analytics dashboard or settings page to users with the correct permissions.
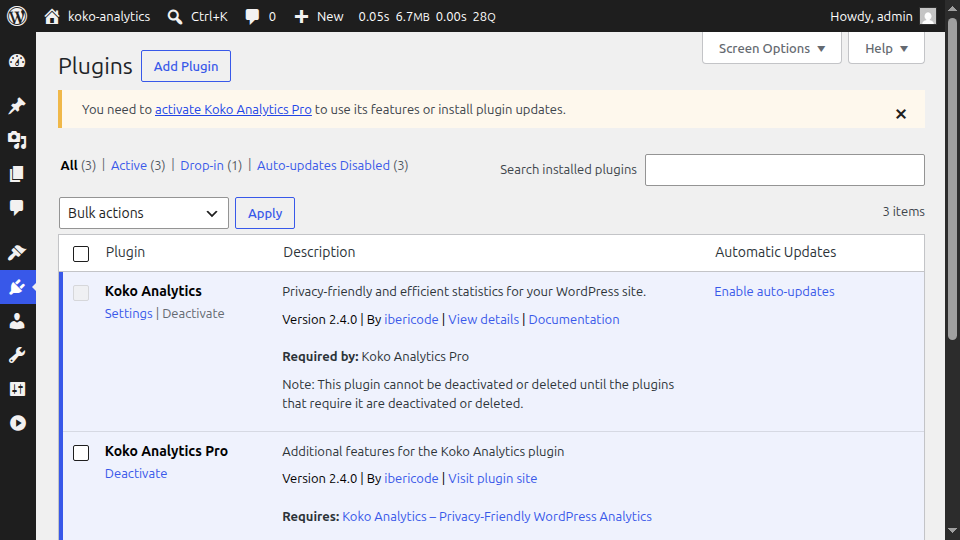
Follow the link in the notice to go to the Koko Analytics > Settings > Koko Analytics Pro page.
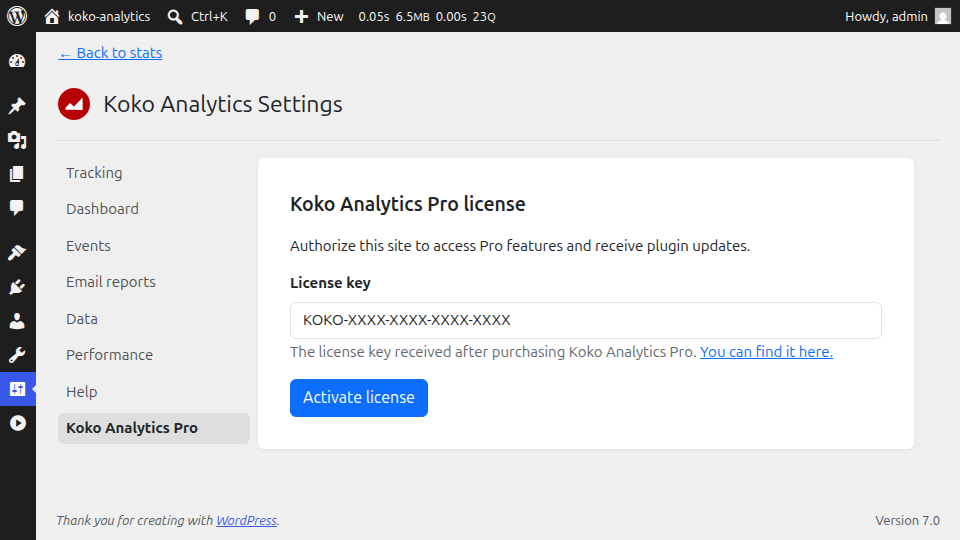
Enter the license key you received after purchasing the plugin and then save your changes.
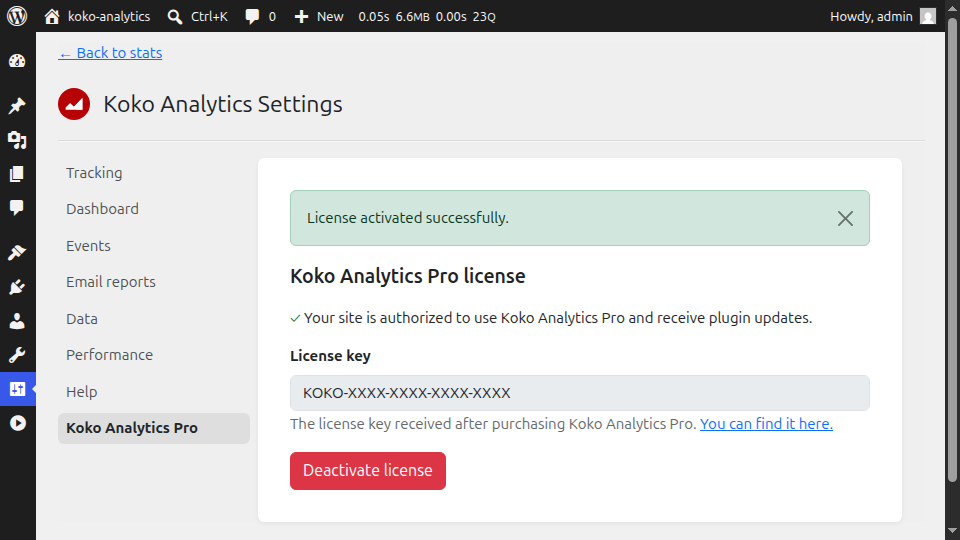
You can now use all the features provided by Koko Analytics Pro and will automatically be notified of any new plugin updates, just like with any other WordPress plugin.