Installing the Koko Analytics plugin
Koko Analytics is a privacy-friendly, open-source analytics plugin for WordPress. It gives you essential metrics about your visitors and pageviews without compromising on their privacy or site speed.
This guide will walk you through installing the free version of Koko Analytics and point out a few important settings to help you get the most accurate and efficient data possible.
Step 1: Install the Plugin
The easiest way to install Koko Analytics is directly from your WordPress dashboard.
- Log in to your WordPress dashboard.
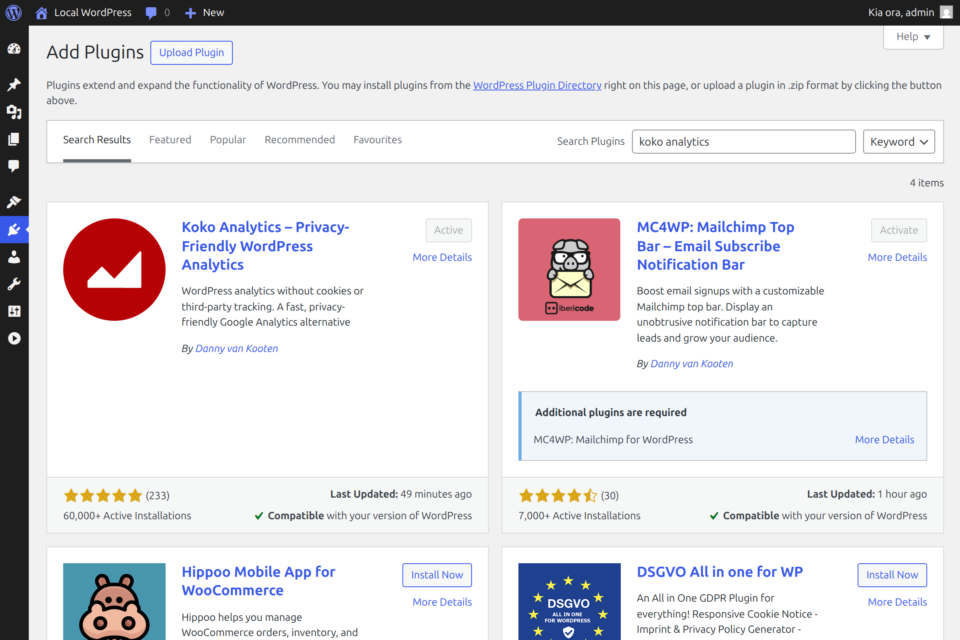
- In the left-hand menu, navigate to Plugins > Add New Plugin.
- In the search bar at the top right, type Koko Analytics.
- Look for the plugin authored by Danny van Kooten.
- Click the Install Now button.
- Once the installation is complete, click Activate.
You should now see an Analytics menu item in your WordPress dashboard sidebar.
(Alternatively, you can download the .zip file from the WordPress.org Plugin Directory and upload it via Plugins > Add New > Upload Plugin.)
Step 2: Configure Important Settings
While Koko Analytics works out-of-the-box, we highly recommend tweaking a few configuration settings to ensure your data stays clean and your database stays lean.
To configure these, go to Analytics > Settings in your WordPress dashboard.
1. Exclude Pageviews from Certain User Roles
By default, you probably don’t want your own visits, or the visits of your site editors, artificially inflating your statistics. Koko Analytics allows you to exclude pageviews based on WordPress user roles.
- Go to the Tracking tab in the settings.
- Find the “Exclude pageviews from these user roles” section.
- Select the roles you want to exclude (e.g.,
AdministratorandEditor). You can useCTRL(orCMDon Mac) to select multiple options. - Save your changes. Visits from logged-in users with these roles will now be completely ignored.
2. Exclude Pageviews from Specific IP Addresses
If you frequently visit your site while logged out, or if you want to exclude traffic from your office network, you can block tracking for specific IP addresses.
- Still in the Tracking tab, find the “Exclude pageviews from these IP addresses” field.
- Enter the IP addresses you want to exclude, putting each address on its own line.
- Tip: The settings page will conveniently display your current IP address just below this box so you can easily copy and paste it.
- Save your changes.
3. Limit Your Dataset Size (Data Retention)
To keep your dashboard loading quickly and ensure your database doesn’t grow infinitely large over time, it’s good practice to automatically delete very old analytics data.
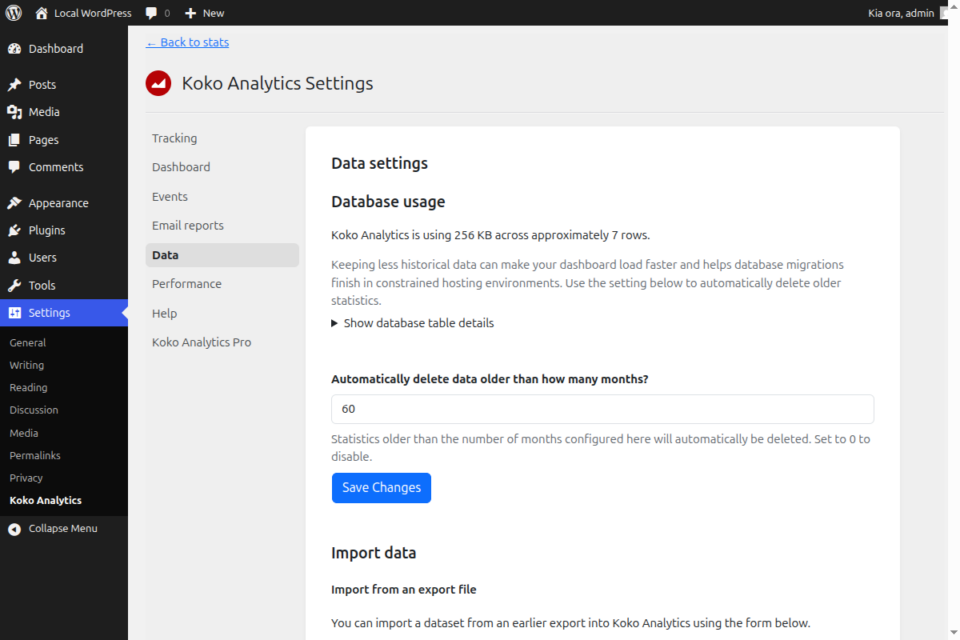
- Go to the Data tab in the settings.
- Look for the “Automatically delete data older than how many months?” setting.
- To limit your dataset to a few years, enter a value like
36(for 3 years) or60(for 5 years). - Click Save Changes. Any statistics older than the configured number of months will automatically be pruned from your database in the background.
You’re All Set!
Koko Analytics is now fully installed and configured. Simply head over to Dashboard > Analytics (or click Analytics in the sidebar) to view your visitor stats. Note that it might take a few hours of traffic before you start seeing meaningful charts!
Need More Insights? Upgrade to Koko Analytics Pro
While the free version of Koko Analytics provides everything you need for fast and privacy-friendly tracking, Koko Analytics Pro unlocks even deeper insights about your audience.
Upgrading to Pro allows you to collect and view detailed statistics on:
- Visitor Locations: See which countries your visitors are coming from.
- Browsers & Operating Systems: Understand the technical setups of your audience.
- Devices: Track how many visitors are using mobile, desktop, or tablet devices.
- Campaigns: See which sources are driving traffic your way.
- Email Reports: Get your traffic stats delivered straight to your inbox.
Ready to take your analytics to the next level? Learn more about Koko Analytics Pro and upgrade today!